
CSIM offers an environment to back-up your personal computers and devices using restic. Restic is free, effective, secure; it runs on Windows, Mac and Linux and can access many storage supports like cloud (Amazon, Google, Backblaze, Alibaba, etc.) or local file server like CSIM.
CSIM has a dedicated SFTP server for restic at restic.cs.ait.ac.th.
Another key advantage of restic is that the backups are initiated by your device, not by a central server, so you don't have to keep your system running all the time: you and your computer are the one that decide when to do a backup.
Implementation at CSIM
If you choose to use the infrastructure of CSIM, your backups will be saved in a special folder under /home/restic/username/restic on the server. The username is your CSIM username. You access this folder with the command:
restic -r sftp:username@restic.cs.ait.ac.th:restic
Restic server is accessible from anywhere, meaning you can launch backups when you are at home. When you connect to restic SFTP server, you can see only this directory, even if your connection to restic would be compromised, your normal home folder would remain inaccessible to the attacker.
Restic also encrypt all the backups with a password, so the attacker would access your backups but would not be able to see the contents of the files. It is better to keep the password used to encrypt the backups different from your usual CSIM account password.
To have an automatic connection to CSIM restic server, you need to define an authentication key pair. Automatic connection is essential for restic to run unattended and do backups for you without prompting for a password every time. Even if you already have a working key, I strongly suggest that you create a new one specifically to use with restic.
I have writen a script that hides part of the complexity of restic and that manages the password used to encrypt the backups. This script only implements the part of restic that is most commonly used.
Finally, the script keeps a secret encrypted copy of you configuration. In the case of a catastrophic failure, even if your hard disk was gone, it will still be possible to reactivate you restic environment and you will be able to use the backup.
Installation on Windows 10 and 11
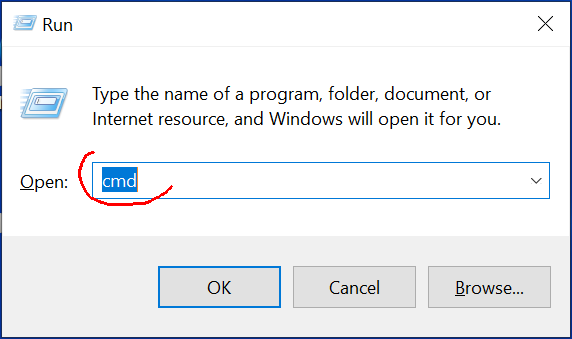
| 1. | Open a command window: on the keyboard press the Windows key ⊞ Win + R and type cmd |
 |
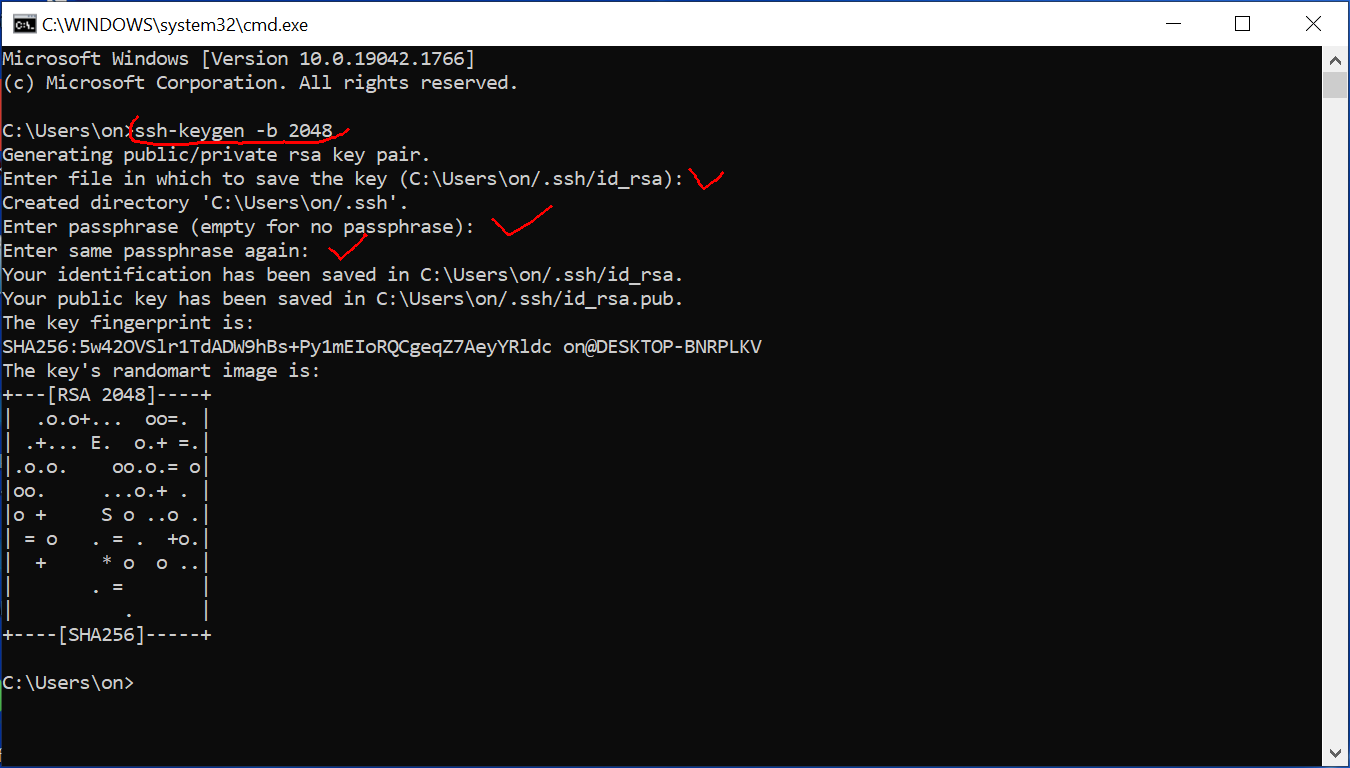
| 2. | Generate the authentication key pair: typessh-keygen -b 2048to generate a 2048 bits key. When asked for a password, just press Enter |
 |
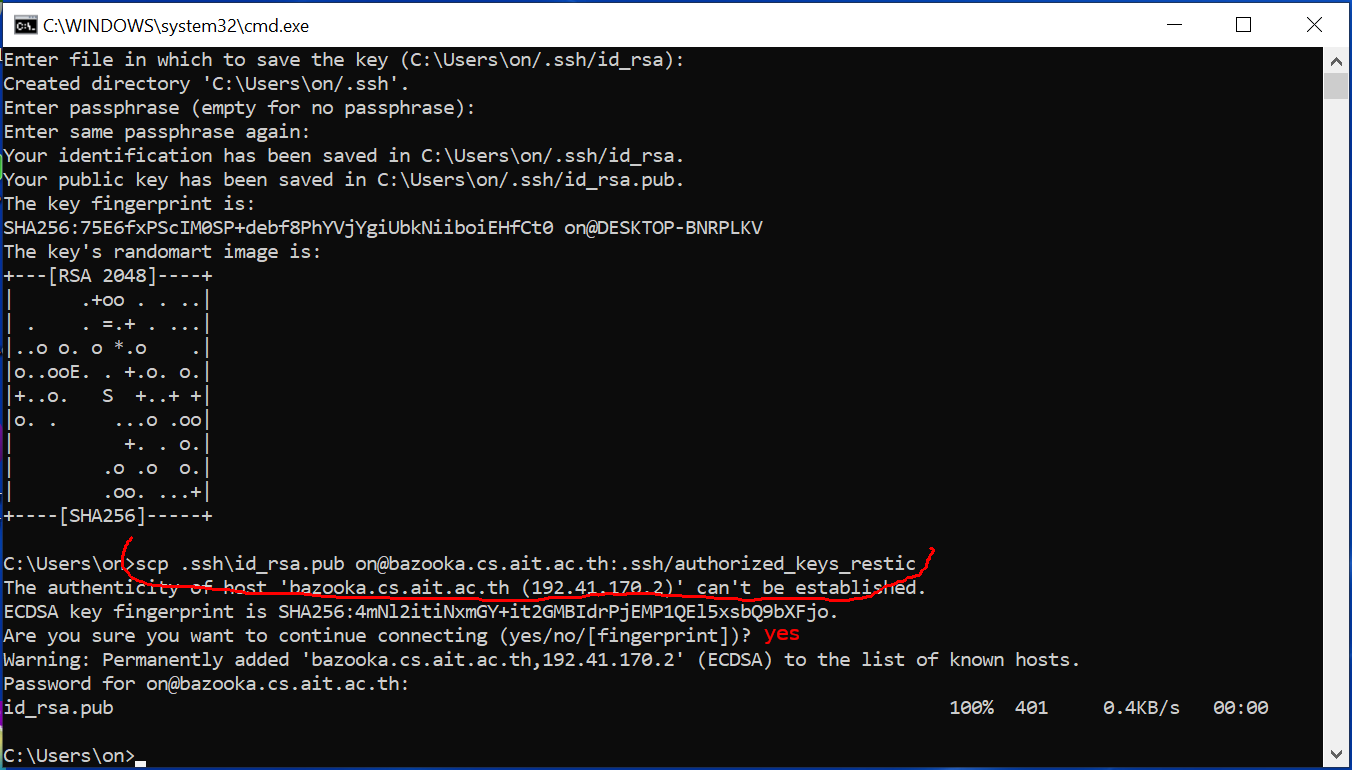
| 3. | Copy the public authentication key on CSIM server: the command must be type very precisely as shown, be careful about the / and \scp .ssh\id_rsa.pub username@bazooka.cs.ait.ac.th:.ssh/authorized_keys_resticwhere username is your user account at CSIM.When asked about the fingerprint, type yesthen enter your CSIM password. This command is the trickiest, but you will only have to do it once. |
 |
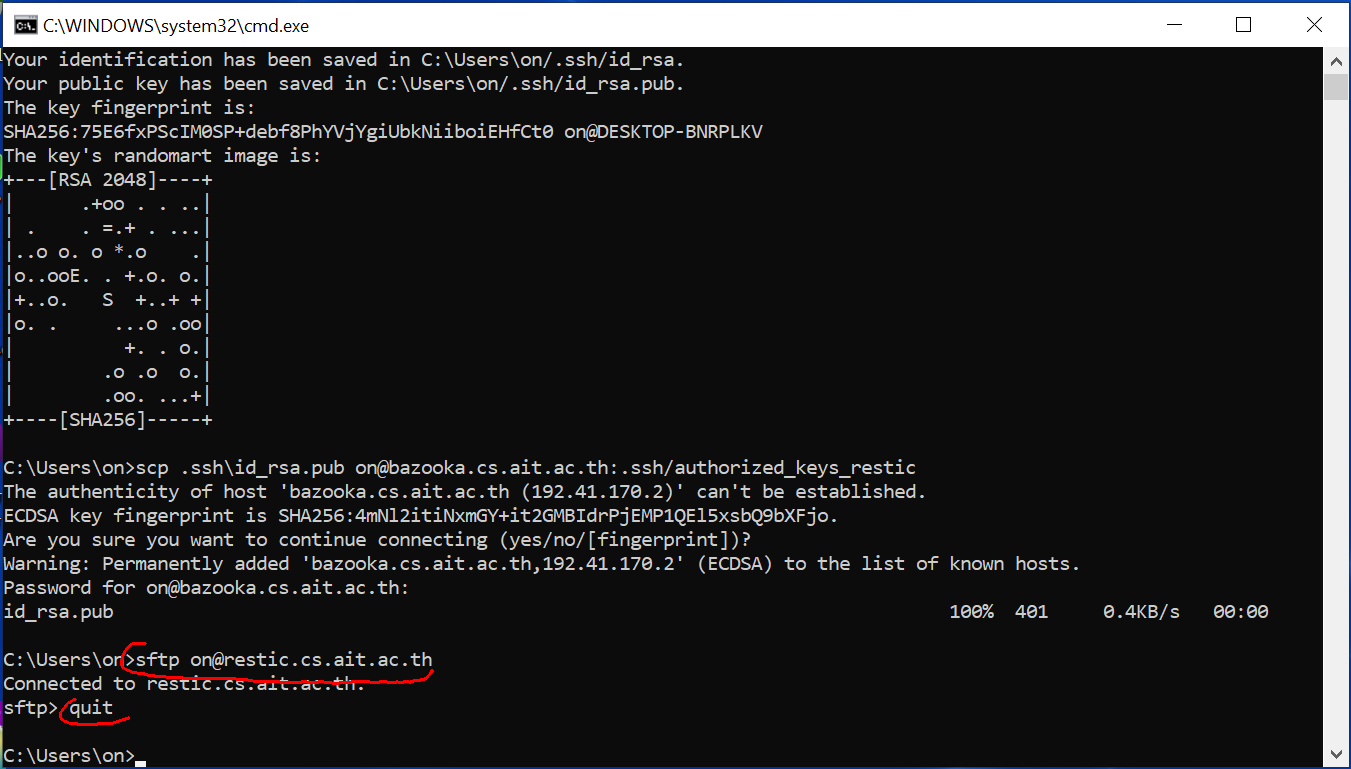
| 4. | Verify that the authentication key pair is properly installed: typesftp and you should be connected without asking for a password. Type quit to quit. |
 |
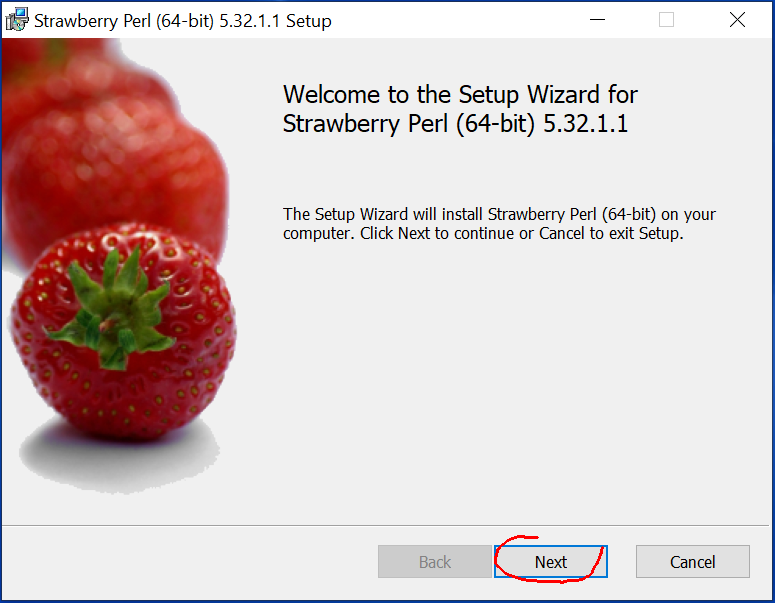
| 5. | Install Strawberry Perl. You should prefer the 64 bits version. Alternatively, you can download it from CSIM server. The installation is straight forward, answer Yes, accept the terms and conditions and click on Next. |
 |
| 6. | Install Perl Restic: download the setup file from CSIM server and run it. The installation is ready; see the information below about using Perl Restic. |
 |
Installation on Linux
Download Perl Restic from CSIM server and use tar zxf to unarchive it somewhere. You will be able to access ./restic.pl in that directory
Using Perl Restic
Perl restic is still a command line tool, but with simpler command than native restic. On Windows you must press ⊞ Win + R and type cmd; on Linux, you must open a Terminal window.
On Windows, the command is restic and on Linux the command is ./restic.pl but the rest of the instructions is the same.
Create a repository
A repository has a name and defines on backup:
- what CSIM account to use for the backups;
- what password to use to encrypt the backups;
- what files or folders to back-up;
- what files of folders to exclude from the backups;
- on Windows, you can also define a list of system files and folders to exclude, you should not change the default, some files would cause restic to crash if they are not excluded.
The command is:
restic init
Remember that the backups count toward your quota of space on CSIM server, when you choose the folders to back-up and the files to exclude, you may want to restrict your choices to the important files and folders, not what you can easily download again from Internet (exclude music, movies, etc.) You should also consider that a large backup may take a long time across the network.
If you create several repository under a single CSIM account (for example if you have several devices you want to back-up), the repositories must have a different name.
Back-up a repository
The command is:
restic backup repository
where repository is the name of the repository you are about to back-up.
You can lauch a backup only once per 24 hours, and the last 15 days are kept on the server.
If CSIM restic server is not reachable, the backup will not run. At the end of a successful backup, you will receive an email.
We will discuss below how to make the backups automatic.
List the contents of a repository
The command is:
restic list repository
where repository is the name of the repository you want to examine. It will give you the contents of the last backup.
Restore a file or a folder
The command is:
restic restore repository
you are then prompted for the files or folders to restore and where you want to save them.
Remove a repository
The command is:
restic restore repository
The repository is wiped from CSIM server and the space is recovered.
Get some help
The command
restic help
lists the commands known by Perl Restic.
Run backups automatically
On Linux, you can use cron and the command crontab to run the backup at regular intervals. For example you can add the following line to crontab -e:
0 0-23/4 * * * path_to_restic/restic.pl backup repository
to run a backup every four hours at 0:00, 4:00, 8:00, 12:00 etc.
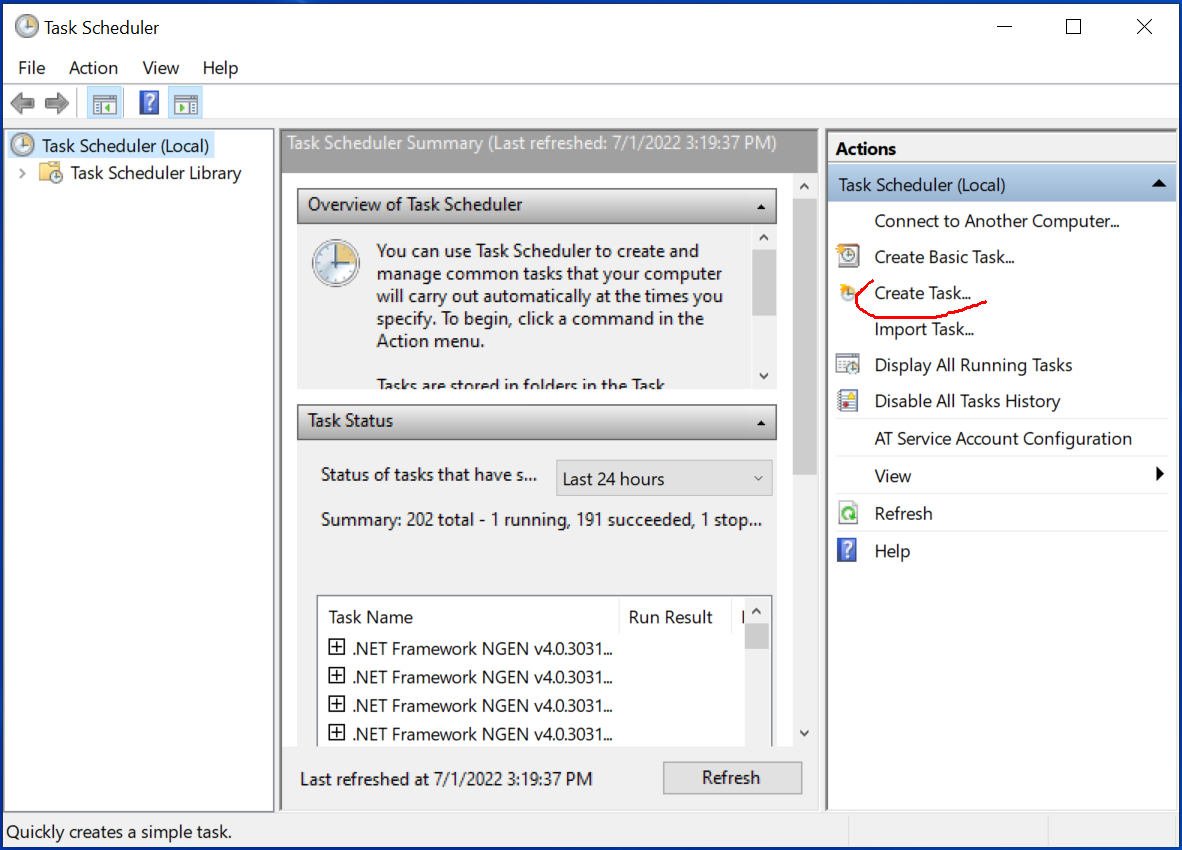
On Windows you can use the Task Scheduler.
| 1. | In Windows seach bar, type Task Scheduler. |
 |
| 2. | Click on Create Task |
 |
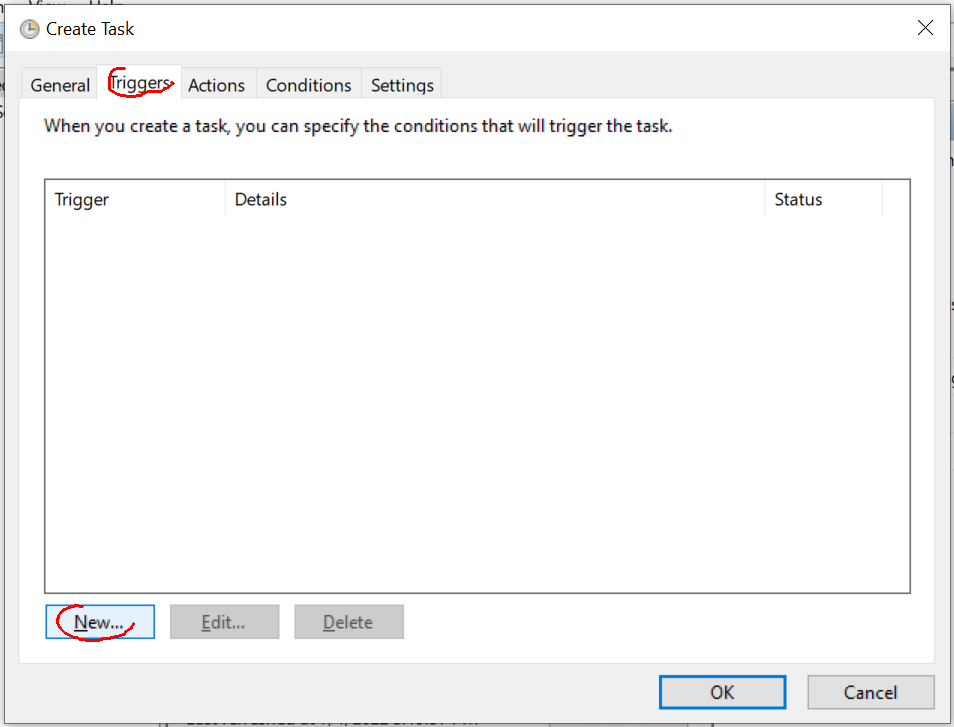
| 3. | In the tab General enter the Name of the task. |
 |
| 4. | In the tab Triggers click New. |
 |
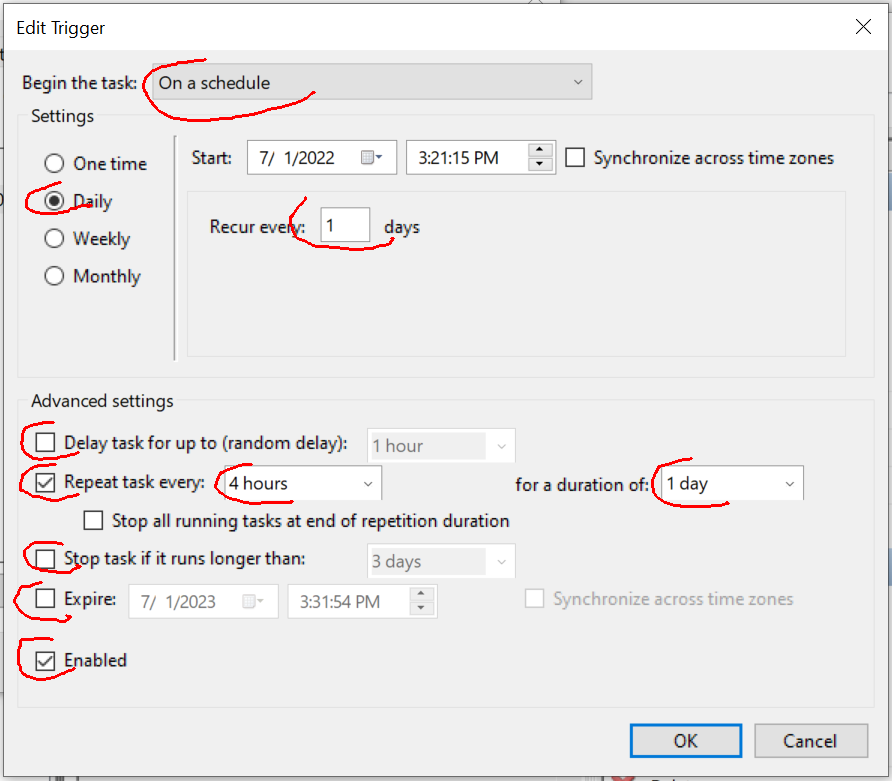
| 5. | Select a Daily schedule, with a recurrence every day.Select to repeat the task every 4 hours for one day. |
 |
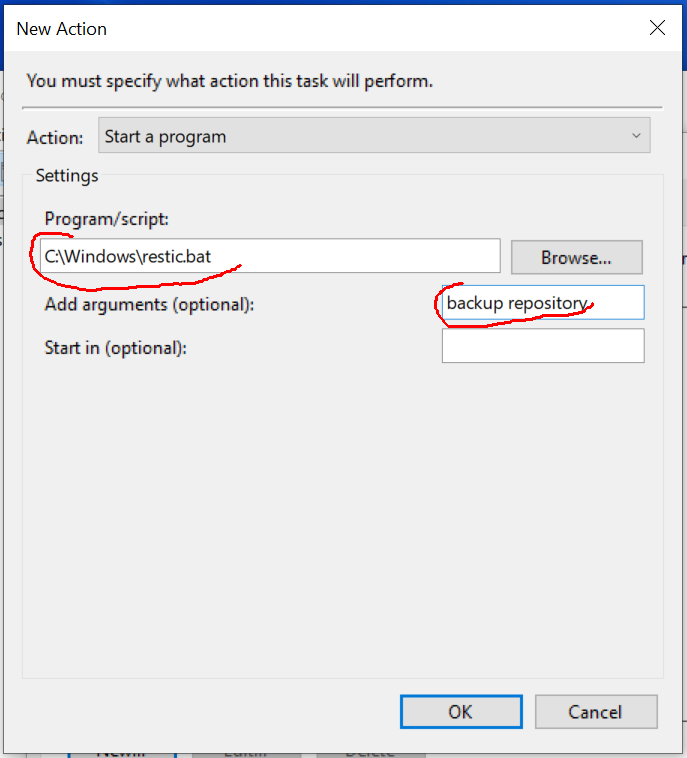
| 6. | In the tab Actions click New. |
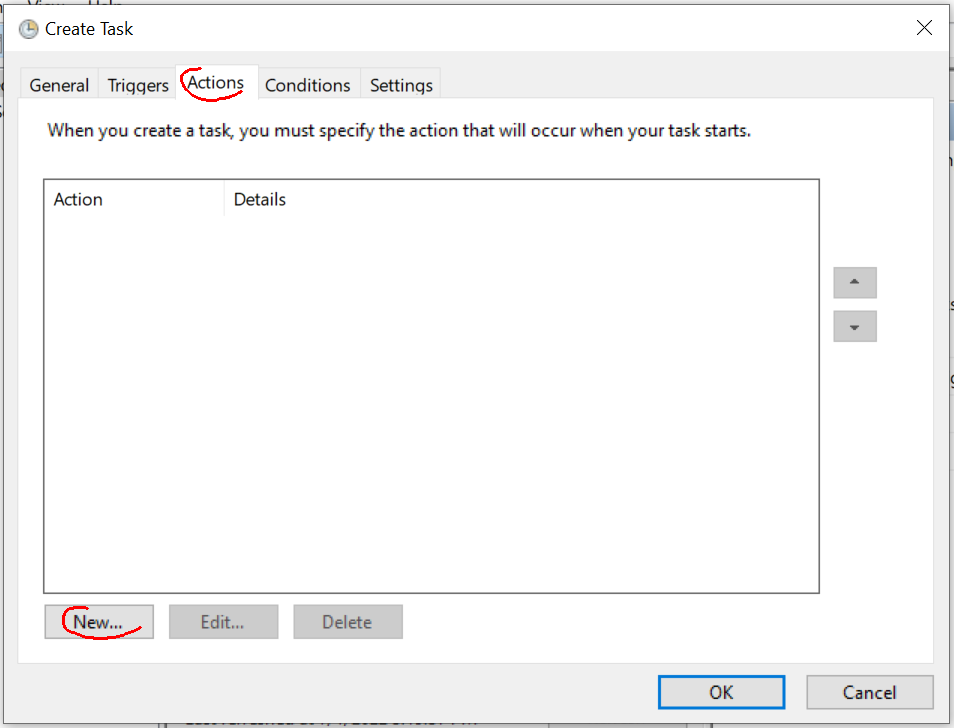 |
| 7. | Enter the script name C:\Windowws\restic.batand the arguments backup repositorywhere repository is the name of a repository you have created earlier. |
 |
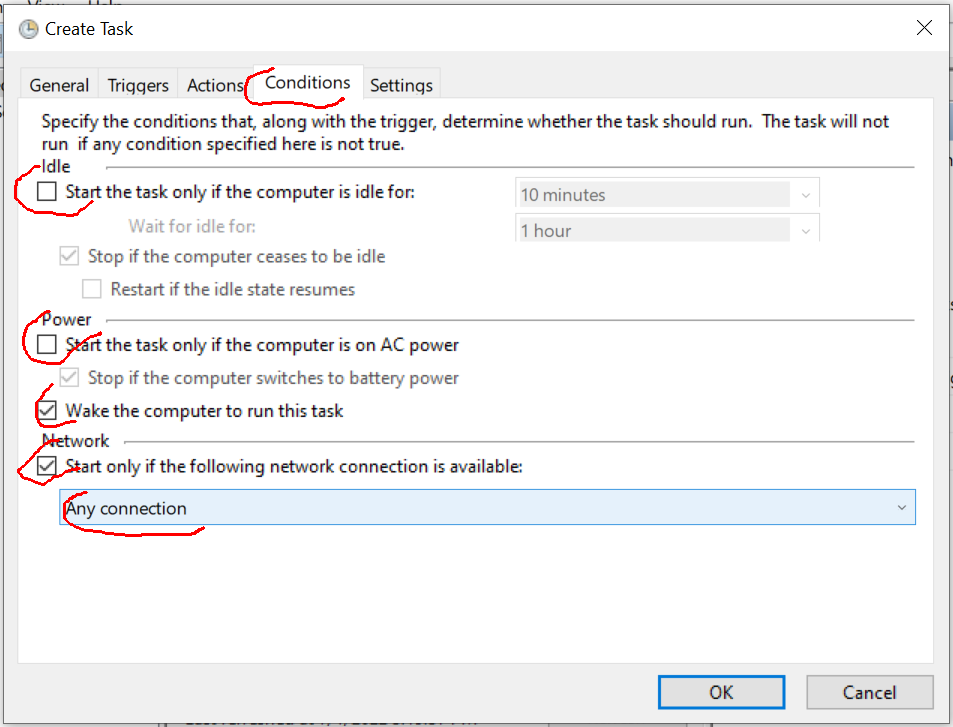
| 8. | In the tab Conditions select to Wake up the computer and to only Start when a network connection is available. |
 |
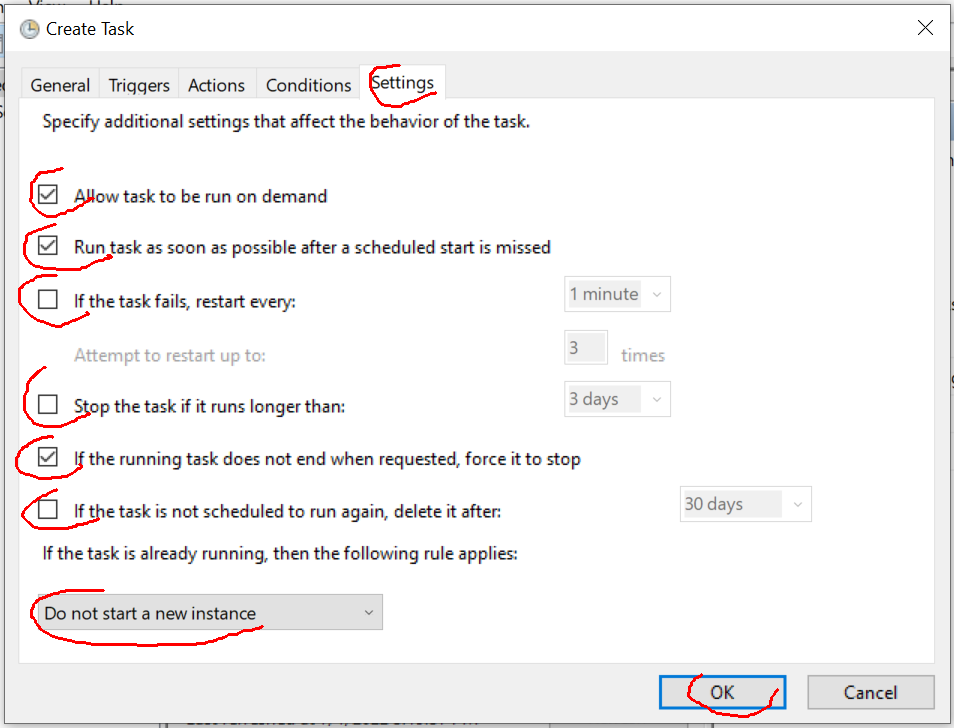
| 9. | In the tab Settings select to Run the task as soon as possible after a missed schedule and disable the Stop of a task that run too long. |
 |
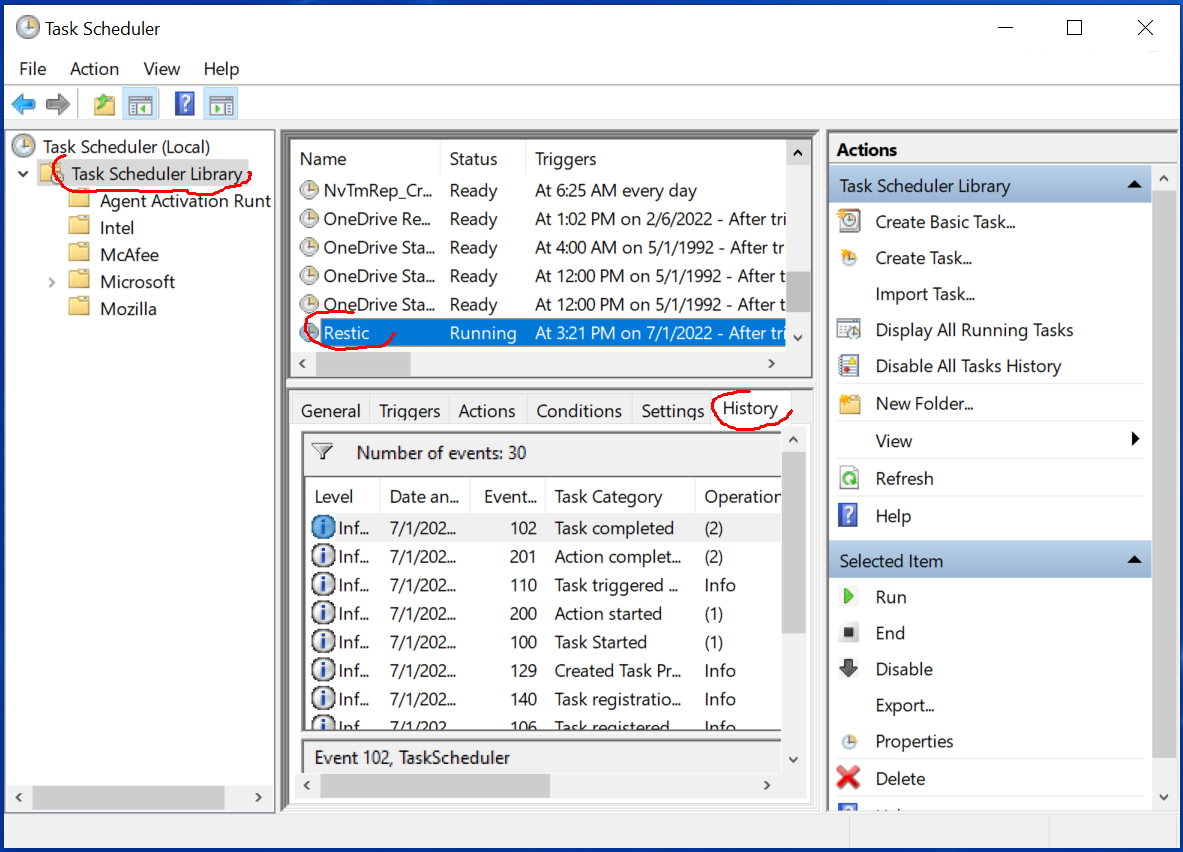
| 10. | In the main window of the Task Scheduler, you will see the task you have created, you can see when it has run in the History for that task. |
 |
Other considerations
If you are backing up more than one device or computer, it is a good practice to have independent authentication key pair for each machine. In that case, you must append all the id_rsa.pub into .ssh/authorized_keys_restic; just have the different files added one at the end of the other.
| Powered by: |  |
 |
 |