
You could transfer the files to bazooka and then from bazooka to your machine, but this is time consuming and error prone.
You can use CSIM VPN, on Linux, you can use ProxyJump.
If not, you can leverage puTTY and SSH tunnel to transfer the files directly to your project machine..
The first step is to make sure that file transfer can be used between your PC and your project machine; make the test while you are inside CSIM and there is not firewall issue. You must also test that TTY can be used to connect to bazooka.cs.ait.ac.th from outside CSIM.
Configuring puTTY tunnel for file transfer
File transfer needs only one tunnel on TCP port 22.
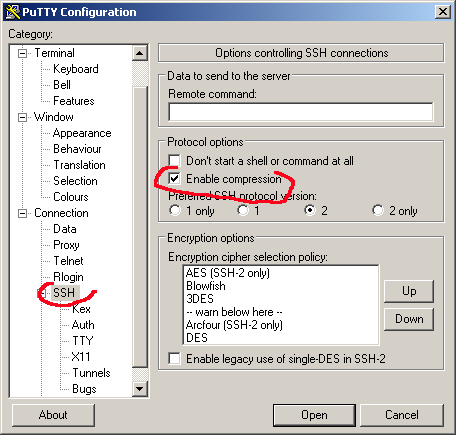
| 1. | Start puTTY. Enable compression: file transfer can be moving large pieces of data through the SSH tunnel, between your PC and your project machine; you better reduce the amount of data with ccompression. Compression is configurable under the option SSH. |
 |
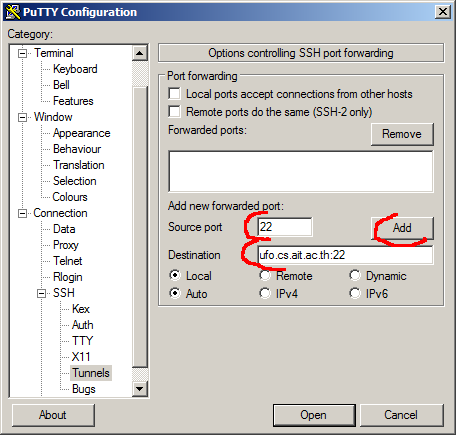
| 2. | Create the tunnel on TCP port 22. Go to the option SSH/Tunnels and add a new forwarded port from source port 22 to destination ufo.cs.ait.ac.th:3389 The option local and auto should be selected by default. Of course, you replace ufo.cs.ait.ac.th with the name or IP address of your remote machine. Click on add. |
 |
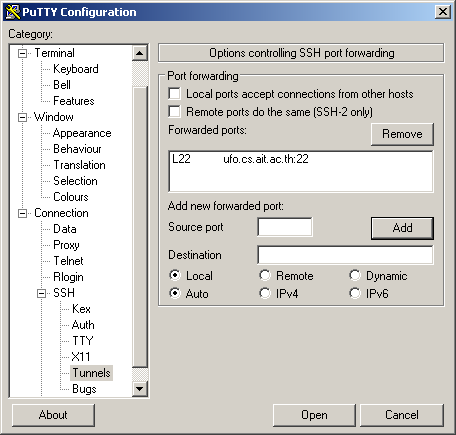
| 3. | You should have the forwarded port showing like in the image: L22 ufo.cs.ait.ac.th:22 |
 |
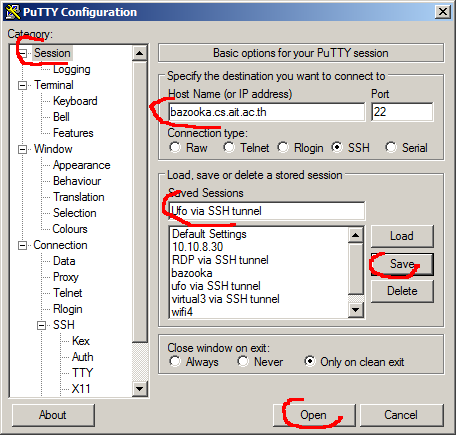
| 4. | Go to the session option at the very top and specify the destination where you connect to by entering bazooka.cs.ait.ac.th in the host name field. Give a name to the session and save it: you will be able to reuse it later on. You can then open the connection. Later you will be able to open the session you have saved and proceed on, starting from step 5 below. |
 |
| 5. | Enter your CSIM username and password. You are connected to bazooka.cs.ait.ac.th and the SSH tunnel is created: your local machine at 127.0.0.1 appears like a file transfer machine, but all the traffic will be sent to bazooka through the tunnel and bazooka will send that traffic to your real projectl machine ufo.cs.ait.ac.th. |
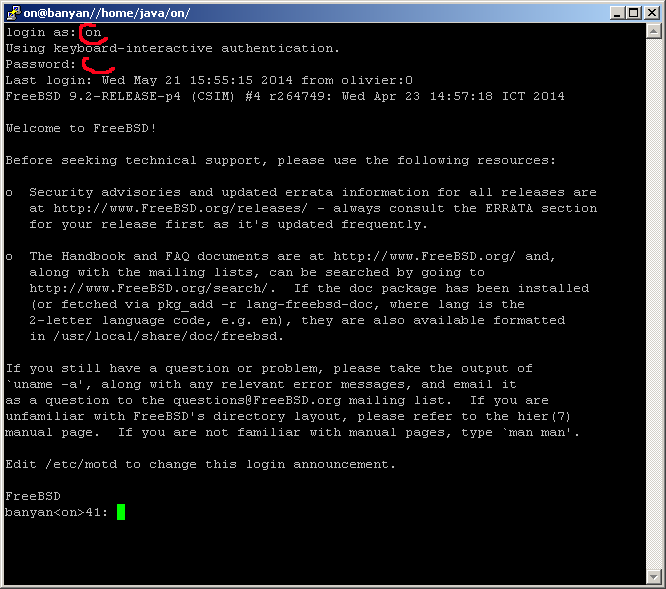 |
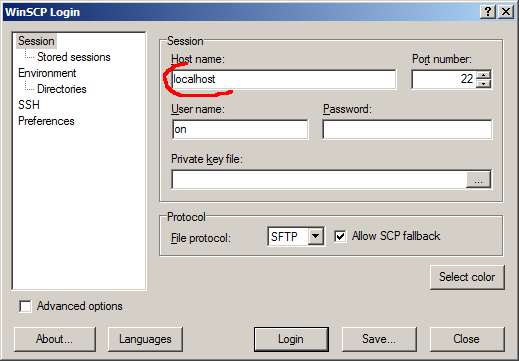
| 6. | Launch the file transfer client (here I use WinSCP) and connect to the server 127.0.0.1 or localhost. Use the username and password as you would use on your project machine.. |
 |
Et voilà!

| Powered by: | puTTY |
